Updated February 2025: Stop getting error messages and slow down your system with our optimization tool. Get it now at this link

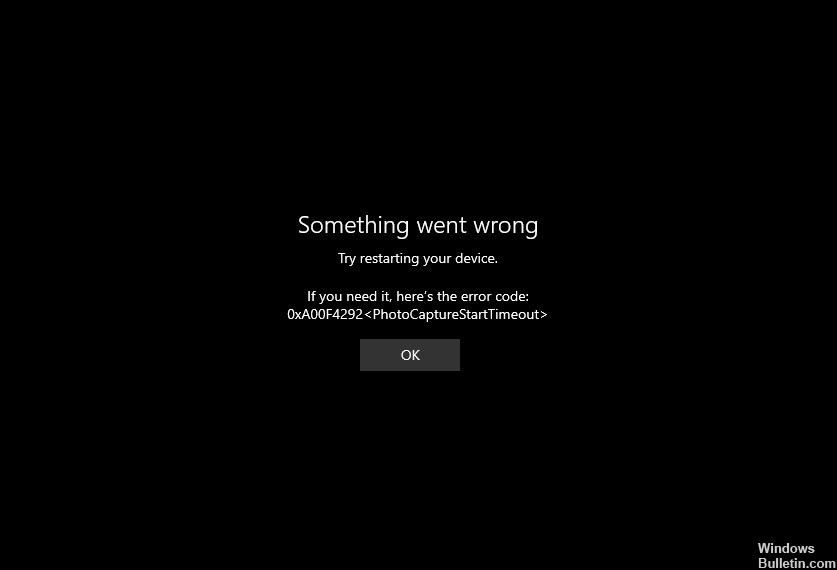
Error code 0xa00f4292 is a message indicating that something is not working as expected on your Windows computer system. More often than not, this problem occurs when you are trying to perform camera actions on your computer. If you are trying to access this device and an error code is displayed, you can assume that the device cannot start or that other tasks cannot be performed.
What causes 0xA00F4292?

There are several reasons for this webcam problem in Windows 10, of which 2 are the most important; an outdated driver component and lack of execution permission on the device. Sometimes a bug in the latest Windows update or an incorrect and incomplete update can cause the error message. In addition, other causes can be corruption in the camera application itself, Windows Defender firewall blocking.
How to solve the problem 0xA00F4292?
You can now prevent PC problems by using this tool, such as protecting you against file loss and malware. Additionally, it is a great way to optimize your computer for maximum performance. The program fixes common errors that might occur on Windows systems with ease - no need for hours of troubleshooting when you have the perfect solution at your fingertips:February 2025 Update:

Update your camera driver
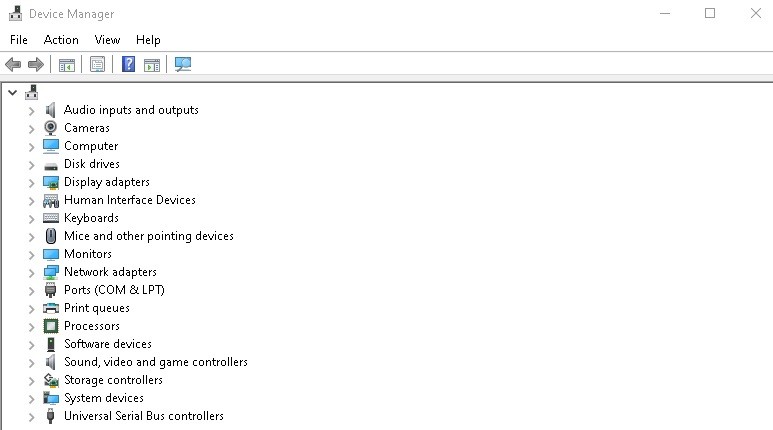
- Press Win+X on your keyboard > select Device Manager.
- In the Device Manager window, scroll down and find your webcam among cameras, imaging devices, or sound, video, and game controllers.
- Right-click on it > select Update Driver > Automatically check for updated drivers > wait for the process to complete and install.
- See if this solves your problem.
Allow the computer to access the camera
- Press Win+X on your keyboard > select Settings from the menu.
- In the Settings window, select Privacy.
- Go to Camera > enable Allow applications to access the camera.
- If the above option is grayed out, enable Allow camera access on this device first.
Allow access to the camera application through your computer’s firewall or antivirus software
- Click to search for Cortana > type firewall > select the first option from the top.
- In the firewall settings > select the option Allow the application or service through Windows Defender firewall.
- Find the “Camera” application and allow inbound and outbound access.
Expert Tip: This repair tool scans the repositories and replaces corrupt or missing files if none of these methods have worked. It works well in most cases where the problem is due to system corruption. This tool will also optimize your system to maximize performance. It can be downloaded by Clicking Here
Frequently Asked Questions
How can I fix error code 0xa00f4292?
- Perform hardware and device troubleshooting.
- Allow applications to access your camera.
- Update your camera drivers.
- Reset your camera application.
- Run a system file check.
How do I fix error 0xa00f4292 in Windows 10?
- Perform hardware and device troubleshooting.
- Allow apps to access your camera.
- Update your camera drivers.
- Reset the camera app.
- Run a system file check.
How do I fix my camera in Windows 10?
- Check for updates. Select Start, then Settings > Update and security > Windows Update > Check for updates.
- Reboot your computer.
- Check your camera using the Camera app.
