Updated February 2025: Stop getting error messages and slow down your system with our optimization tool. Get it now at this link

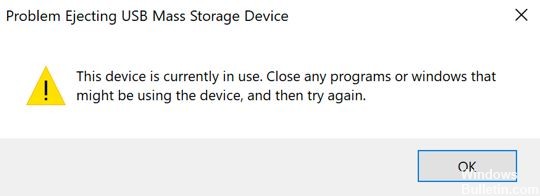
Some users have complained about not being able to eject external hard drives on their Windows computers. There are several reasons for this, including outdated or faulty USB drivers that don’t allow the drive to be ejected, or other processes that access the contents of the drive.
You can disconnect the drive without first closing the applications accessing it, but this runs the risk of corrupting the data. You can use a data recovery tool to repair and restore damaged files, but there is no guarantee that this will work.
To ensure the safety and integrity of your external hard drive, it is recommended that you only remove it after all processes using it have ended.
What causes an external hard drive not to eject?

The contents of the drive are in use: In most cases, the contents of the disk are in use, which is what causes the problem. If background processes or applications are using files stored on the external hard drive, this can certainly be the cause of the problem.
Windows USB Drivers: If not the content, then the Windows USB drivers may be the cause of our computer’s problem. Outdated or faulty USB drives in your system could be the cause of the problem.
How to fix the ‘Can’t Eject External Hard Drive’ problem?
You can now prevent PC problems by using this tool, such as protecting you against file loss and malware. Additionally, it is a great way to optimize your computer for maximum performance. The program fixes common errors that might occur on Windows systems with ease - no need for hours of troubleshooting when you have the perfect solution at your fingertips:February 2025 Update:

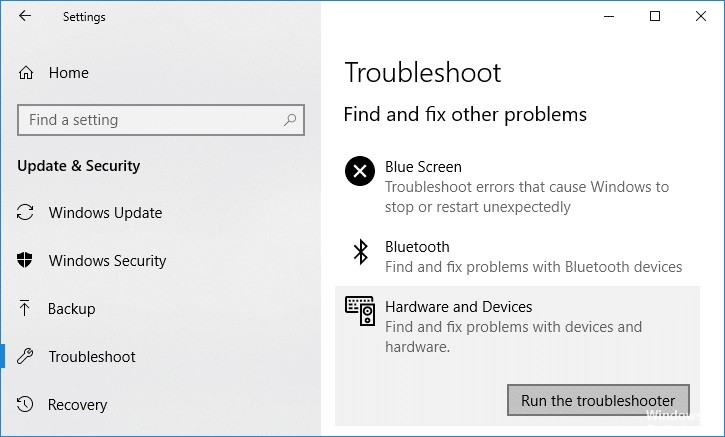
Launch the Windows troubleshooter for hardware and peripherals
- Press and hold Windows+R to open Run.
- Type CMD and hold Shift+Ctrl+Enter to open the extended command prompt.
- Then type msdt.exe -id DeviceDiagnostic and press Enter.
- When the hardware and device troubleshooter opens, click Next.
- Click Apply this fix.
- Then click Next.
- Restart your computer.
- Go to the taskbar and remove the external storage device.
Using the Task Manager to delete tasks
- Hold down the Ctrl+Shift+Esc key combination to open the Task Manager.
- Click Details in the lower-left corner.
- On the Processes tab, find the application that is preventing you from removing the external drive.
- Right-click it and select End Task. Make sure that all processes associated with the application are finished.
- Go to the taskbar and remove the external storage device.
Remove the external drive through Disk Manager
- Right-click on the Start menu button and select Disk Management.
- Identify the external drive you wish to remove.
- Right-click the external drive, then click Eject.
Expert Tip: This repair tool scans the repositories and replaces corrupt or missing files if none of these methods have worked. It works well in most cases where the problem is due to system corruption. This tool will also optimize your system to maximize performance. It can be downloaded by Clicking Here
Frequently Asked Questions
Why can't I eject my external hard drive?
There are several reasons for this, such as outdated or faulty USB drivers that do not allow you to eject the drive, or other processes that access the contents of the drive.
Can I remove an external hard drive without ejecting it?
If you remove the flash drive without first notifying your computer, the writing process to the drive may not be complete. Therefore, if you eject the external drive without warning, the file you just saved may be lost forever, even if you saved it hours ago.
Why can't I eject an external hard drive in Windows 10?
If you can't eject the drive using the "Safely remove hardware and eject drive" option, you can safely eject the drive using the Disk Management tool. Here's how it works: open the Start menu, type Disk Management, and press Enter. Locate the external hard drive you want to remove.
What do I do if I can't eject my external hard drive?
- Use Windows Troubleshooting for hardware and devices.
- Use the Run Command window to remove the external hard drive.
- Use Disk Manager to remove the external hard drive.
- Close any running tasks or processes.
- Update the USB drivers on your computer.
