Updated February 2025: Stop getting error messages and slow down your system with our optimization tool. Get it now at this link
- Download and install the repair tool here.
- Let it scan your computer.
- The tool will then repair your computer.
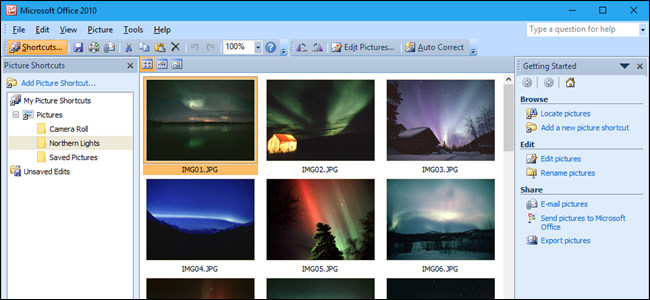
Office 2016, Office 2010 and Office 365 are not delivered with the Image Manager. With Microsoft Picture Manager, users can easily view, edit and manage photos, and many have enjoyed it. Windows 10 now comes with the Windows Photo application that lets you manage your photos. Microsoft removed Picture Manager because the basic image-editing tools that were included are already included in Word, PowerPoint, or Excel. However, if you miss it and want to install Picture Manager, you can do so as follows.

Using Microsoft Office Picture Manager gives you a flexible way to manage, edit, and share your photos. You can view all your photos no matter where they are stored; the image search function even helps you find them by searching for them for you. The Image Manager can also automatically make corrections to your images. If you need to adjust something more specific, you can choose from several individual image editing tools. Image sharing is more powerful with Picture Manager, which allows you to send images in e-mail messages or create an image library on your company’s intranet (intranet): A network within an organization that uses Internet technologies (such as HTTP or FTP protocol). Using hyperlinks, you can explore objects, documents, pages, and other destinations on your intranet).
February 2025 Update:
You can now prevent PC problems by using this tool, such as protecting you against file loss and malware. Additionally, it is a great way to optimize your computer for maximum performance. The program fixes common errors that might occur on Windows systems with ease - no need for hours of troubleshooting when you have the perfect solution at your fingertips:
- Step 1 : Download PC Repair & Optimizer Tool (Windows 10, 8, 7, XP, Vista – Microsoft Gold Certified).
- Step 2 : Click “Start Scan” to find Windows registry issues that could be causing PC problems.
- Step 3 : Click “Repair All” to fix all issues.
To Install Picture Manager using SharePoint Designer 2010

- Download SharePoint Designer 2010.
- Click on Run in the message that appears (at the bottom of the screen) asking you if you want to run or save the .exe file.
- Accept the license terms and click Next.
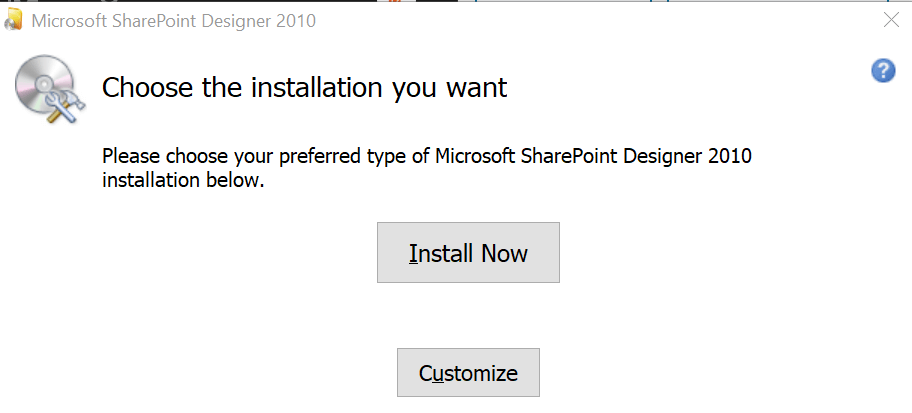
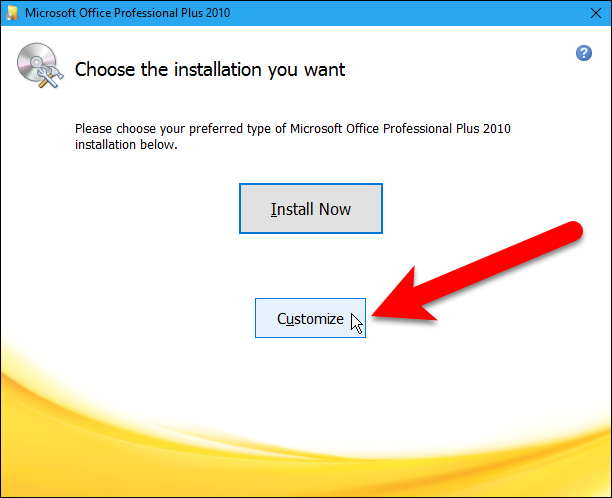
- On the Select the desired installation page, click Customize.
- Expand the Office tools and select Microsoft Office Picture Manager.
- Click the drop-down arrow next to Microsoft Office Picture Manager and click Run from my computer.
- Click Install Now.
Picture Manager is only included in SharePoint Designer 2010, not in SharePoint Designer 2013, and there will be no SharePoint Designer 2016. Therefore, SharePoint Designer 2010 is the latest version that includes the Picture Manager.
Install Picture Manager using Microsoft Office 2010

- If you have access to the Microsoft Office 2010 disc, you can install Microsoft Office Picture Manager directly from the Office installer.
- If you perform the installation with the Office disc, Microsoft Office Picture Manager is installed together with other Office applications.
- Microsoft Office Picture Manager is a convenient tool because it provides all the essential functions for editing and viewing images without using a third-party application.
If your Microsoft Office installation is not provided with Picture Manager, follow the steps in this article to download Microsoft Office Picture Manager to your computer. Please let us know in the comments if you prefer the Picture Manager or Picture Application.
Expert Tip: This repair tool scans the repositories and replaces corrupt or missing files if none of these methods have worked. It works well in most cases where the problem is due to system corruption. This tool will also optimize your system to maximize performance. It can be downloaded by Clicking Here
