Updated February 2025: Stop getting error messages and slow down your system with our optimization tool. Get it now at this link
- Download and install the repair tool here.
- Let it scan your computer.
- The tool will then repair your computer.
For further customization, you can change the startup logo in Windows as you wish. Follow these steps to add a custom Windows startup logo.

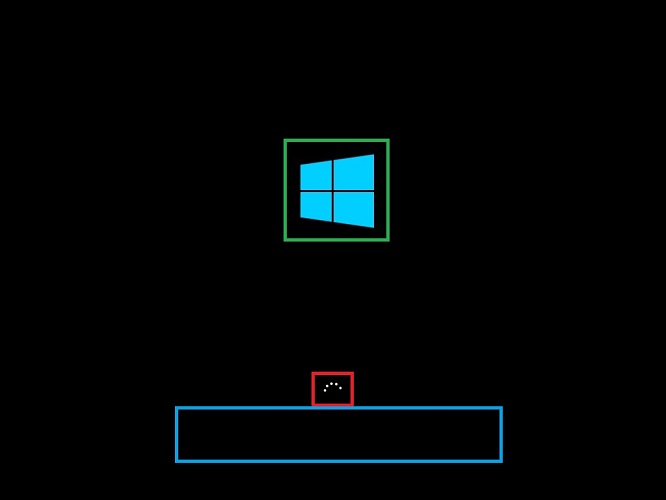
By default, Windows 10 displays the modern Windows logo on the startup logo. Typically, the new logo is placed on a black background and looks pretty neat, but it is minimal and won’t burn your eyes in dark environments. But if you get tired of the standard Windows logo on the startup screen, you can add your own custom logo on the startup screen.
Just point Windows 10 at the image of your choice and you’re done. Without further ado, let me show you how to change the startup logo in Windows 10.
How to Add a Custom Boot Logo

HackBGRT is a free software to change the Windows boot logo for UEFI systems, which allows you to change the default boot logo of your Windows 10/8/7 computer.
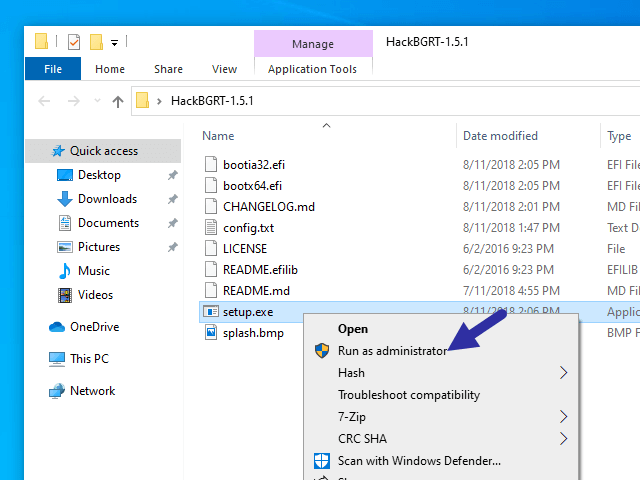
After downloading the program, open the setup.exe file, then you can follow the on-screen instructions to change the startup logo. Before doing anything, you must disable the “Secure Boot” feature. If you have enabled Secure Boot, the program will ask you if you want to disable it. For more details on disabling Secure Boot, visit your laptop manufacturer’s website.
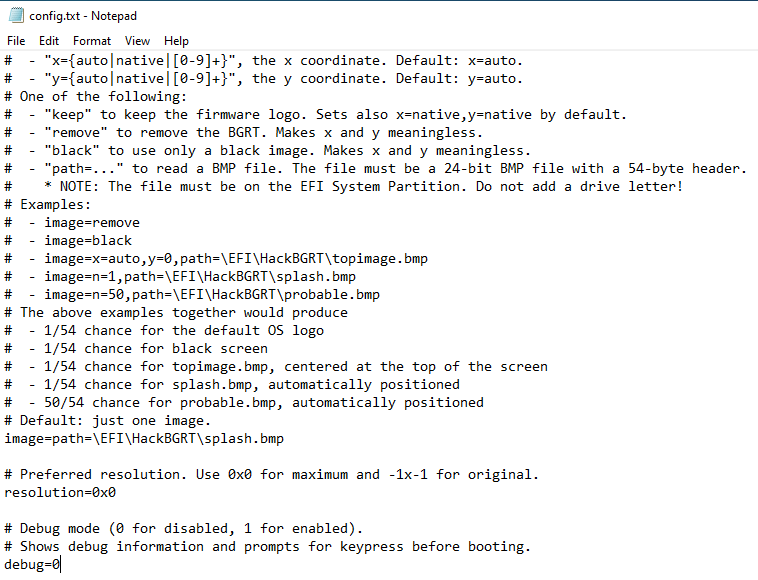
If Secure Boot has been disabled, open the setup.exe file again. Now press I to start the installation. The program will then open a Notepad window with a configuration. In this configuration file, you must specify the path to the image you want to display and other parameters such as positioning, etc. You can also specify several images to be taken at random with the specified weight.
February 2025 Update:
You can now prevent PC problems by using this tool, such as protecting you against file loss and malware. Additionally, it is a great way to optimize your computer for maximum performance. The program fixes common errors that might occur on Windows systems with ease - no need for hours of troubleshooting when you have the perfect solution at your fingertips:
- Step 1 : Download PC Repair & Optimizer Tool (Windows 10, 8, 7, XP, Vista – Microsoft Gold Certified).
- Step 2 : Click “Start Scan” to find Windows registry issues that could be causing PC problems.
- Step 3 : Click “Repair All” to fix all issues.
After saving the configuration file, a paint window opens with the default splash image. You can draw your image there or copy it from another source and paste it here. Now make sure that you save all images in Microsoft Paint’s 24-bit BMP format.
Once the pictures are saved, the program will make the necessary changes and you can restart your computer to see these changes.

How to Undo the Changes
Something didn’t go as planned? Restart the setup.exe file and this time press D instead of I at the command prompt. You may also be unable to boot your system. This is unlikely, but we have already warned you. If you have created recovery media or already have one, you can use it. You can also use a Windows system recovery point that you might have created.
Because you won’t be able to boot the system, you might need bootable Windows media, such as a disk or USB flash drive. You can also use the backup created with the HackBGRT tool by copying [EFI System Partition]\EFI\HackBGRT\bootmgfw-original.efi to [EFI System Partition]\EFI\Microsoft\Boot\bootmgfw.efi. To do this, you must use the command prompt from a Windows media or USB memory stick, etc.
https://docs.microsoft.com/en-us/windows-hardware/customize/enterprise/unbranded-boot
Expert Tip: This repair tool scans the repositories and replaces corrupt or missing files if none of these methods have worked. It works well in most cases where the problem is due to system corruption. This tool will also optimize your system to maximize performance. It can be downloaded by Clicking Here
