Updated May 2024: Stop getting error messages and slow down your system with our optimization tool. Get it now at this link
- Download and install the repair tool here.
- Let it scan your computer.
- The tool will then repair your computer.
A number of users reported seeing the 0x104 error on the remote desktop connection under Windows 10. This can be an extremely frustrating problem because many people around the world need to remotely access their work servers and use this feature to collect or access data from the company they work for.

Remote Desktop is a program or feature of the operating system that allows a user to connect to a computer in another location, see the desktop of that computer and interact with it as if it were local. It is particularly useful in the workplace, both at home and in the office. You can access your computer when you are at home, at work or traveling.
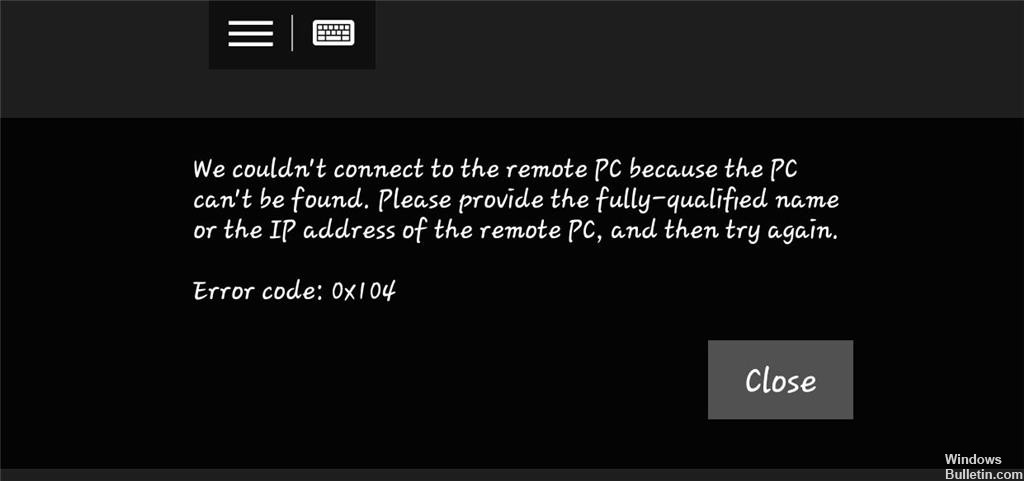
One of the most common errors with Remote Desktop is Remote Desktop Error 0x104. The message is as follows: “We couldn’t connect to the remote PC because the PC can’t be found. Please provide the fully-qualified name or the IP address of the remote PC, and then try again.”
There are several reasons for the Remote Desktop 0x104 error. One of them is if you have a custom DNS setting. These can prevent connection, so it is recommended to delete these custom settings. Your port may also be blocked by the firewall. If this is the case, be sure to allow the port via the Windows firewall to avoid the error code. In some cases, network discovery is disabled, so try to enable it again.
The good news is that there are methods you can use to correct the error code. Take a look at the following suggestions to see which ones are right for you.
How to Repair Remote Desktop Error Code 0x104:
Allow port 3389 to pass through the firewall

- Press the Windows key to open the Start menu.
- Enter the Remote settings and press Enter. The System window will then open.
- On the left side, click on Remote Settings.
- Under Remote Desktop, in the Remote tab, see to it that the Allow remote connections to this computer is selected.
- Now open the Control Panel.
May 2024 Update:
You can now prevent PC problems by using this tool, such as protecting you against file loss and malware. Additionally, it is a great way to optimize your computer for maximum performance. The program fixes common errors that might occur on Windows systems with ease - no need for hours of troubleshooting when you have the perfect solution at your fingertips:
- Step 1 : Download PC Repair & Optimizer Tool (Windows 10, 8, 7, XP, Vista – Microsoft Gold Certified).
- Step 2 : Click “Start Scan” to find Windows registry issues that could be causing PC problems.
- Step 3 : Click “Repair All” to fix all issues.
- Go to System and Security > Windows Defender Firewall.
- On the left, click on Advanced Settings.
- Now select Inbound Rules, then search for Remote Assistance (RA Server TCP-In).
- Make sure it is activated.
- Now look for the Remote Desktop – user mode (TCP In and UDP In). Make sure they are enabled and that 3389 is the port. You can check the port by enlarging the window so that the Local Port column is visible.
Make Sure That All Computers Use the Same Type of Network Profile.

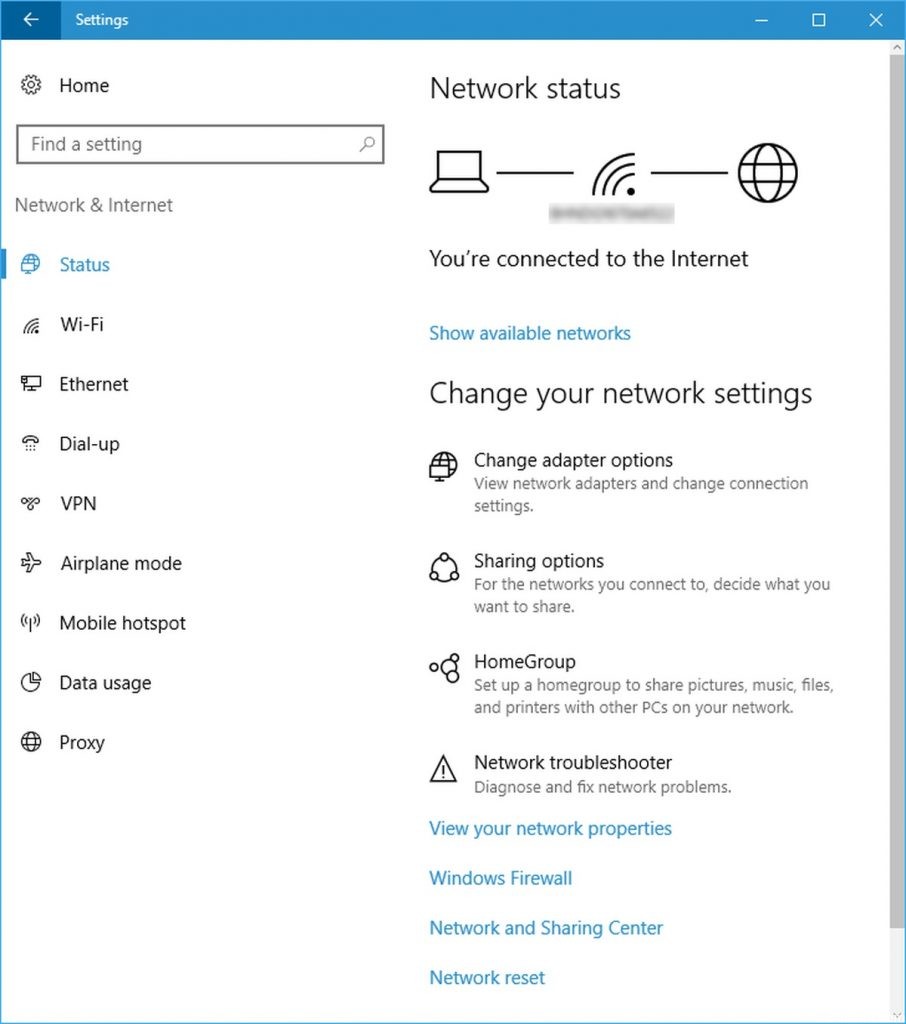
- Click on the network icon in your taskbar.
- Connect to the network of your choice.
- Click on Properties.
- In the Settings for All PCs window, select Public or Private.
- Try to see if this solves your problem.
Turn On Network Discovery (for private networks)

- Enter the control panel.
- In the search box, search for the network sharing Center.
- Click on Advanced sharing settings.
- Click Manage Advanced Sharing Settings
- Check the “Turn on network discovery”
- Click Save Changes.
Expert Tip: This repair tool scans the repositories and replaces corrupt or missing files if none of these methods have worked. It works well in most cases where the problem is due to system corruption. This tool will also optimize your system to maximize performance. It can be downloaded by Clicking Here
