Let’s learn how to create a richly ornate typographic illustration with Gimp. We’ll use ornate patterns, stock photos, and textures. Let’s start!
Please note: Some steps are complex and may be hard to follow.
Step 1
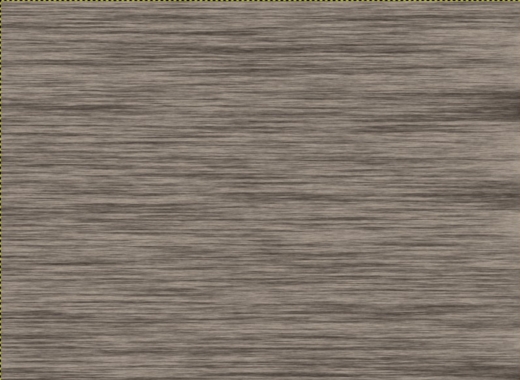
Create a 1600×1200 pixel document in Gimp with a white background. Add a large wooden texture via File > Open as Layers. Rename the layer to “wood texture 1.”
![Step 1](https://web.archive.org/web/20120521095624im_/http://gimp-tutorials.net/tutorials/richly_ornate_typo_tutorial/images/1.jpg)
Step 2
Enhance the wood texture’s depth and color. Create a new layer, fill it with black, set to Overlay mode, and adjust opacity to 50%.
![Step 2](https://web.archive.org/web/20120521095624im_/http://gimp-tutorials.net/tutorials/richly_ornate_typo_tutorial/images/2.jpg)
Step 3
Add another layer for darkening the wood texture using color #633a1c and Multiply mode.
![Step 3](https://web.archive.org/web/20120521095624im_/http://gimp-tutorials.net/tutorials/richly_ornate_typo_tutorial/images/3.jpg)
Step 4
Apply a top-to-bottom white to transparent gradient on a new layer. Copy and paste the visible layers as a new layer, deleting the others.
![Step 4](https://web.archive.org/web/20120521095624im_/http://gimp-tutorials.net/tutorials/richly_ornate_typo_tutorial/images/4.jpg)
Step 5
Download and install a free font. Type your desired text on separate layers in any color.
![Step 5](https://web.archive.org/web/20120521095624im_/http://gimp-tutorials.net/tutorials/richly_ornate_typo_tutorial/images/5.jpg)
Step 6
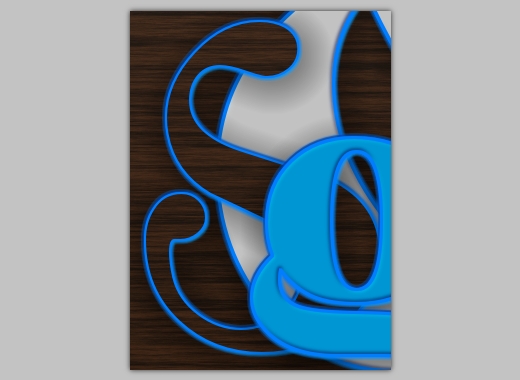
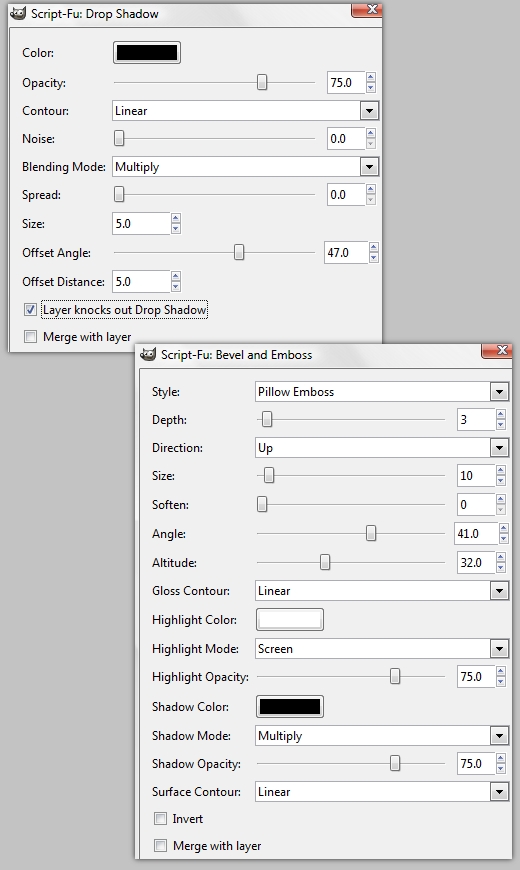
Install Gimp Layer Effect plugins. Apply effects like Drop Shadow, Outer Glow, Bevel & Emboss, Stroke to the first letter, and arrange the layers accordingly.
![Step 6](https://web.archive.org/web/20120521095624im_/http://gimp-tutorials.net/tutorials/richly_ornate_typo_tutorial/images/6a.jpg)
Step 7
Repeat the same effects for the remaining letters and the “&” symbol.
![Step 7](https://web.archive.org/web/20120521095624im_/http://gimp-tutorials.net/tutorials/richly_ornate_typo_tutorial/images/7.jpg)
Step 8
Add textures to each letter using the wooden texture, shaping it to the letter form, and adjust for depth and lighting effects.
![Step 8](https://web.archive.org/web/20120521095624im_/http://gimp-tutorials.net/tutorials/richly_ornate_typo_tutorial/images/9.jpg)
Step 9
Download screw images, desaturate, and apply effects to create large and small screws. Place them over letters to appear as if securing them.
![Step 9](https://web.archive.org/web/20120521095624im_/http://gimp-tutorials.net/tutorials/richly_ornate_typo_tutorial/images/11a.jpg)
Step 10
Duplicate screws for all letters, varying rotation and size.
![Step 10](https://web.archive.org/web/20120521095624im_/http://gimp-tutorials.net/tutorials/richly_ornate_typo_tutorial/images/12.jpg)
Step 11
Download and modify an ornate pattern to match text glow colors, then apply a layer style.
![Step 11](https://web.archive.org/web/20120521095624im_/http://gimp-tutorials.net/tutorials/richly_ornate_typo_tutorial/images/13.jpg)
Step 12
Enhance the ornate pattern with a colored flourish on a new layer, painting edges with a soft brush.
![Step 12](https://web.archive.org/web/20120521095624im_/http://gimp-tutorials.net/tutorials/richly_ornate_typo_tutorial/images/15.jpg)
Step 13
Group and duplicate the ornate pattern layers, resize and rotate them, placing them strategically around the text.
![Step 13](https://web.archive.org/web/20120521095624im_/http://gimp-tutorials.net/tutorials/richly_ornate_typo_tutorial/images/16.jpg)
Step 14
Apply a gradient map for color adjustment and create a layer with a radial gradient to highlight the background.
![Step 14](https://web.archive.org/web/20120521095624im_/http://gimp-tutorials.net/tutorials/richly_ornate_typo_tutorial/images/17.jpg)
Step 15
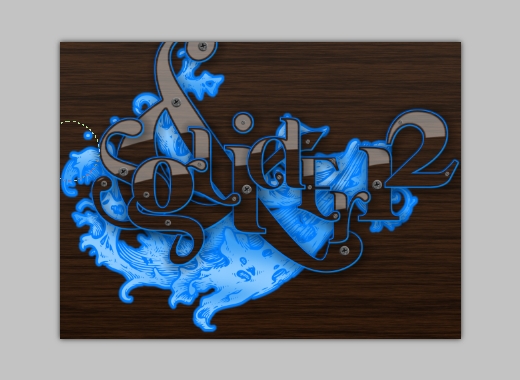
Add final color touches to the background and text, and incorporate an additional ornate pattern to complete the composition.
![Step 15](https://web.archive.org/web/20120521095624im_/http://gimp-tutorials.net/tutorials/richly_ornate_typo_tutorial/images/20.jpg)
Conclusion
And we’re done! Click the image below to view it full size!
![Click here to view full size!](https://web.archive.org/web/20120521095624im_/http://gimp-tutorials.net/tutorials/richly_ornate_typo_tutorial/images/ornate_tut_small.jpg)
![](https://thewindowsbulletin.com/wp-content/uploads/2024/03/carter.jpg)