Updated February 2025: Stop getting error messages and slow down your system with our optimization tool. Get it now at this link
- Download and install the repair tool here.
- Let it scan your computer.
- The tool will then repair your computer.
With XAMPP for Windows, setting up a local test server on your computer is relatively easy. It provides the (W)AMP stack – Apache, MySQL and PHP. It also includes PHPMyAdmin, which is very useful to manage your MySQL databases.

The following instructions describe XAMPP configuration in detail. A quick start guide for installing Drupal and XAMPP on Windows is also available.
NOTE: XAMPP is only intended to be used as a local test server available on your own computer. It is designed to be easy to use, but not to provide security at the production level. If you want to tinker with security, here are the instructions to secure XAMPP.

Advantages of XAMPP:
- It is free, easy to use and readily available for Windows, Linux and Mac OS .
- It is a beginner friendly solution for full web development.
- It is an open source software that makes it easy to install.
- It is very simple and easy to create and set up for development, testing and deployment.
- It saves time and offers several ways to manage configuration changes.
- It takes care of many administrative tasks such as status and security checks.
How to Install XAMPP on Windows 10

To download and install XAMPP on Windows 10, follow these steps:
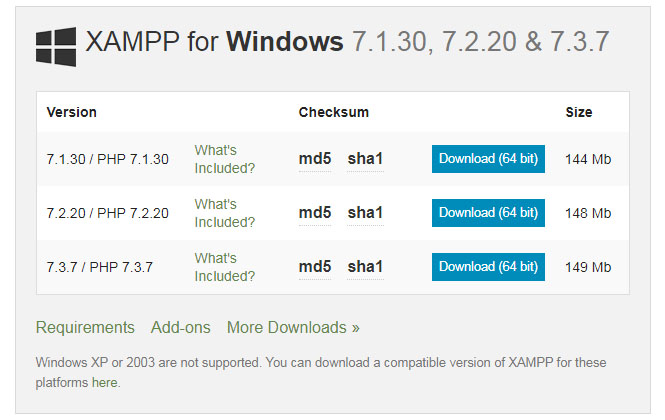
- Open the Friends of Apache website.
- Click the XAMPP for Windows button to save the file to your desktop.
- Double-click the downloaded file to launch the installer.
- Click the OK button.
- Click the Next button.
- XAMPP offers a variety of components that you can install, such as MySQL, phpMyAdmin, PHP, Apache and more. In most cases you will use most of these components, so it is recommended to leave the default options.
- Click the Next button.
- Use the default installation location, or select another folder in the “Choose a folder” box to install the software.
- Click the Next button.
- Uncheck the option Learn more about Bitnami for XAMPP
- Click the Next button.
- Click the “Allow Access” button to allow the application to pass through the firewall (if applicable).
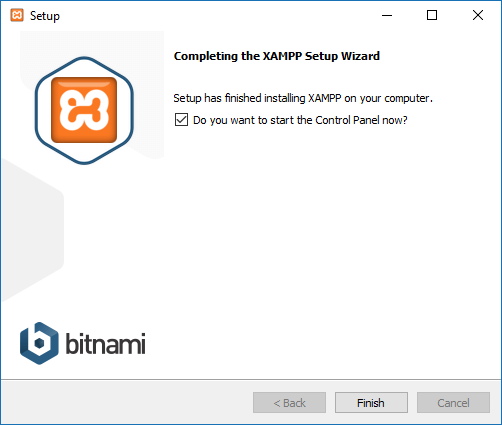
- Click the “Finish” button.
- Select your language (English or German).
- Click the “Save” button.
Installing from ZIP
Unzip the zip archive to a folder of your choice. XAMPP decompresses into the subdirectory “C:\xampp” located under the selected target directory. Now run the file “setup_xampp.bat” to adapt the XAMPP configuration to your system.
If you choose a root directory “C:\” as target, you do not need to run the file “setup_xampp.bat”.
As in the installation version you can now use the “XAMPP control panel” for additional tasks.
February 2025 Update:
You can now prevent PC problems by using this tool, such as protecting you against file loss and malware. Additionally, it is a great way to optimize your computer for maximum performance. The program fixes common errors that might occur on Windows systems with ease - no need for hours of troubleshooting when you have the perfect solution at your fingertips:
- Step 1 : Download PC Repair & Optimizer Tool (Windows 10, 8, 7, XP, Vista – Microsoft Gold Certified).
- Step 2 : Click “Start Scan” to find Windows registry issues that could be causing PC problems.
- Step 3 : Click “Repair All” to fix all issues.
How to Configure XAMPP on Windows 10

- To configure XAMPP on Windows 10, you may need to run the XAMPP application as an administrator.
- So click the Start button and enter XAMPP.
- This way the “XAMPP control panel” will appear in the best match. Now right click on it and select “Run as administrator”. When the UAC asks for permission, click the Yes button.
- When the XAMPP control panel opens you will see a list of web services under the Modules section.
- Here you must first enable Apache and MySQL services by clicking the appropriate start button available under the Actions section.
- Here you need to enable Apache and MySQL services first by clicking the corresponding start button available under the Actions column.
- As soon as you click the Start button, the PID and port number of the corresponding services become visible. The corresponding services in the Modules section will also turn green.
- You can also start the other services if you need them.
- To access the administration dashboard for each service, click on the corresponding Admin button.
- At the far right of the page you will find a list of options such as Config, Netstat, Shell and others. These options help you to configure different aspects of the XAMPP control panel.
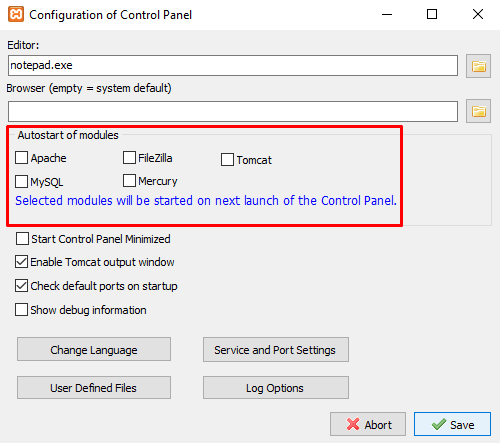
- Click the Config button to open the Control Panel configuration window.
- Select the check box of the modules you want to be started automatically when the application starts. Then click on the “Save” button to save the changes.
- Next to the Config button, you will find the Netstat button. If you click on this button, you will see a list of the services that are currently accessing the network.
- It consists of the name of the executable file, the process identification information, the port number and its TCP/IP address.
Conclusion
If you follow one of the above methods, you can install and configure the XAMPP server on Windows 10.
https://www.apachefriends.org/faq_windows.html
Expert Tip: This repair tool scans the repositories and replaces corrupt or missing files if none of these methods have worked. It works well in most cases where the problem is due to system corruption. This tool will also optimize your system to maximize performance. It can be downloaded by Clicking Here
