Updated February 2025: Stop getting error messages and slow down your system with our optimization tool. Get it now at this link

Many people have a problem with the microphone (internal and external) automatically muting. Although this problem occurs mostly in Windows 10, the microphone can stop working properly in older Microsoft products as well. Usually, the microphone works fine for a long time, but then it arbitrarily mutes and zeros out.
According to Microsoft experts, this may be due to improper sound settings or outdated device drivers. However, you should not exclude the version of malware/virus infection either. So, if you can’t talk or record anything in Skype because your microphone is automatically and constantly muted, try the following ways.
What causes my microphone to turn off all the time?

When something like this happens, it would obviously be helpful to know the immediate cause. If the microphone keeps dropping despite your attempts to adjust it to a certain volume level, the following are likely causes:
- Incorrect system sound settings.
- Malware has corrupted the sound files.
- The sound drivers have not been updated.
How to solve a microphone the keeps muting itself?
You can now prevent PC problems by using this tool, such as protecting you against file loss and malware. Additionally, it is a great way to optimize your computer for maximum performance. The program fixes common errors that might occur on Windows systems with ease - no need for hours of troubleshooting when you have the perfect solution at your fingertips:February 2025 Update:

Update the microphone driver
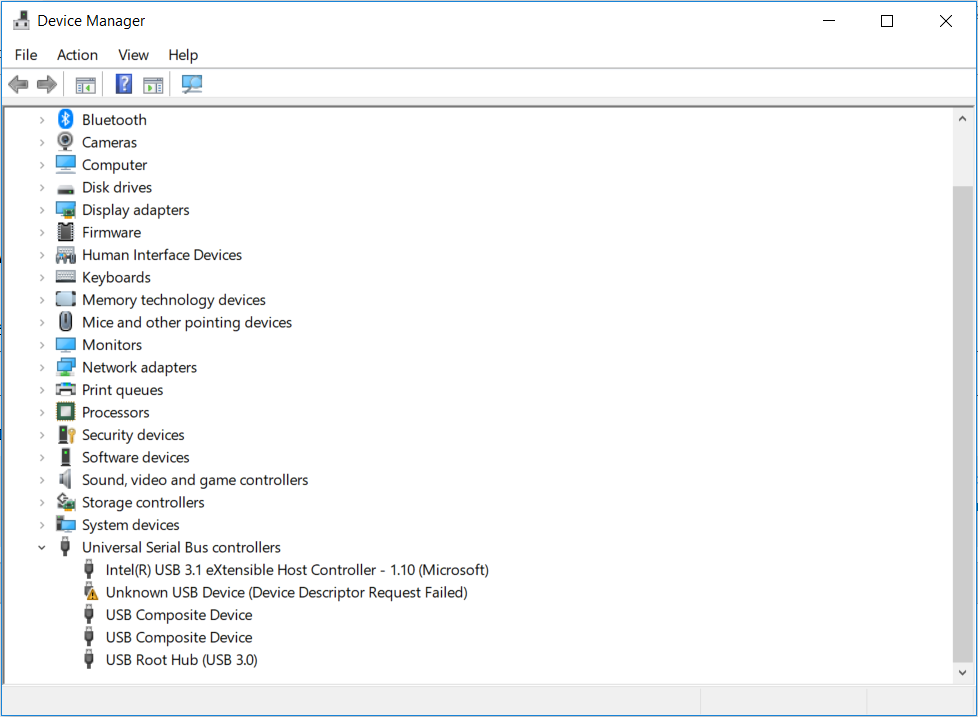
- Right-click on the Start button and select Device Manager in the context menu.
- Expand the Sound, Video, and Game Controllers category, right-click the audio device you wish to update, and select Update Driver.
- Select Automatically check for driver software updates.
- Then follow the instructions on the screen to complete the update.
- Windows will then automatically search for available updated drivers and install them for you.
Changing Advanced Microphone Settings
- Right-click the speaker icon at the bottom of the notification screen and select Sound from the advanced menu.
- Click the Communication tab of the Sound control panel.
- Then select Do nothing when Windows detects communication activity.
- Click Apply to apply these changes.
- You can then check to see if the microphone continues to mute. If the problem persists, continue with the following steps.
- Go back to the Recording tab of the Sound Control Panel, select the microphone, and click Properties.
- Click the Advanced tab and uncheck Allow applications to have exclusive control over this device.
- Click Apply to complete the process.
Change the format of your microphone
- Open the Sound Control Panel again using the method described above, select the disabled microphone, and click Properties.
- Click the Advanced tab and select the format of the other 16-bit settings from the drop-down list.
- Click Apply to save your changes.
Stopping Svchost.exe processes
- Press Ctrl + Shift + Esc to open Task Manager, then switch to the Details tab and sort the processes alphabetically.
- Check if svchost.exe processes have a high CPU load. If so, you should terminate those processes.
- Type cmd in the search box, right-click the Command Prompt application and select Run as administrator.
- In the window that appears, type the following command and press Enter to kill all svchost.exe processes.
taskkill /F /PID #### (Replace #### with the four digits in the PID column of the Task Manager). - Now check whether the microphone is disabled or not.
Expert Tip: This repair tool scans the repositories and replaces corrupt or missing files if none of these methods have worked. It works well in most cases where the problem is due to system corruption. This tool will also optimize your system to maximize performance. It can be downloaded by Clicking Here
Frequently Asked Questions
Why does my microphone keep going off?
Usually, the internal or external microphone automatically mutes due to incorrect sound settings. Even if you haven't changed these settings, they may have been changed automatically after installing updates or being infected with malware.
How do I stop the microphone from muting?
Click on Sound and click on the Playback tab. Click on Speaker and open its properties by clicking on the button below. Click on the Levels tab and turn off the Mute button if it is active, and use the slider to set the microphone level to at least 75. Check to see if the problem persists.
Why is my microphone keep muting?
This problem may be caused by your audio management software. To fix this problem, simply find your sound management software and uninstall it from your computer.
How do I fix my microphone in Windows 10?
- Select Start, then Settings -> System -> Sound.
- Under Input, make sure that your microphone is selected under Select Input Device.
- To test your microphone, speak into the microphone and turn on Test Microphone to make sure Windows can hear you.
