Updated February 2025: Stop getting error messages and slow down your system with our optimization tool. Get it now at this link

Today, a printer or two can be found in almost every school, home and office. From printing souvenir photos to everyday documents and reports, it has become an indispensable tool in today’s world. However, this handy printer has a few weaknesses that can sometimes confuse the user.
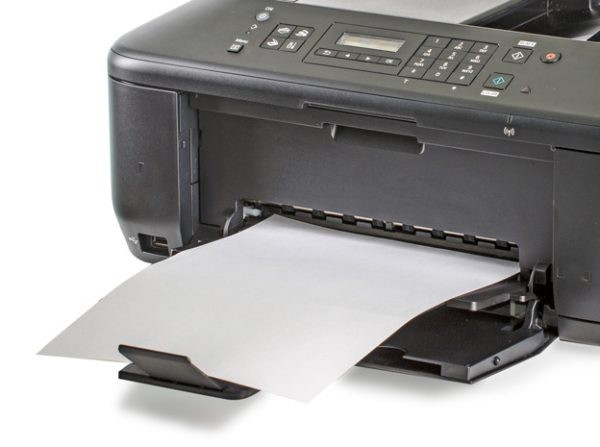
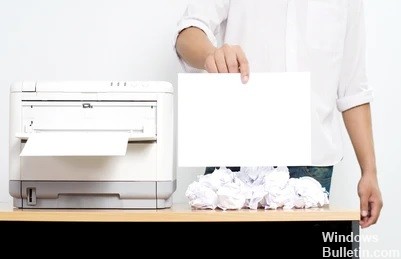
One of the most frustrating things about working with the printer is when it suddenly prints blank pages. And if you are working on an important document or file, this problem can be quite annoying.
Fortunately, there are ways to solve this problem so that you can pick up right where you left off. In addition, they are so simple that you can do them yourself with little to no technical knowledge.
What are the reasons why the printer prints blank pages?

- Clogged nozzles.
- Incorrect paper size.
- Driver and software problems.
- Incorrect cartridge installation.
- The cartridges have moved out of place.
- Blank pages in the document you are printing.
How to solve the problem of blank pages when printing?
You can now prevent PC problems by using this tool, such as protecting you against file loss and malware. Additionally, it is a great way to optimize your computer for maximum performance. The program fixes common errors that might occur on Windows systems with ease - no need for hours of troubleshooting when you have the perfect solution at your fingertips:February 2025 Update:
Launch Windows Troubleshooting
- Press the Windows logo key on your keyboard and type Troubleshooting.
- Select Troubleshooting Settings.
- Click Printer, and then click Run Troubleshooting.
- Wait for the troubleshooting to complete, then try printing the page.
Set up the Print Spooler service
- Press the Windows logo key on the keyboard and type Services.
- Select Services.
- Double-click Print Spooler.
- Click Suspend, and then click OK.
- Open Windows File Explorer (on your keyboard, press the Windows logo key and E at the same time).
- Go to C: Windows\System32\spool\PRINTERS.
- Delete all the files in this folder.
- Press the Windows logo key on your keyboard and type Services.
- Select Services.
- Double-click Print Spooler.
- Click the Start button. Then make sure that the startup type is set to Automatic, and click OK.
- Try printing the page to check the problem.
Run the system file checker

- On your keyboard, press the Windows key and the X key at the same time, then click Windows PowerShell.
- Click Yes to continue.
- Type sfc /scannow, then press Enter on your keyboard.
- Leave the command prompt window open until the command completes.
Manual download and installation of drivers
To get the latest driver for your printer, go to the HP support Web site, find the driver for your specific version of Windows (for example, 32-bit Windows), and download it manually.
Once you have downloaded the correct drivers for your system, double-click the downloaded file and follow the on-screen instructions to install the driver.
Expert Tip: This repair tool scans the repositories and replaces corrupt or missing files if none of these methods have worked. It works well in most cases where the problem is due to system corruption. This tool will also optimize your system to maximize performance. It can be downloaded by Clicking Here
Frequently Asked Questions
Why does my printer print blank pages when it has ink in it?
White pages can be caused by a number of reasons, such as print settings, insufficient ink, or the device itself. Do a spot check of the nozzles to see if they are clogged. If necessary, clean the print head. Make sure the paper size, orientation, and layout settings are correct in the print program.
How do I know if the print head is clogged?
If your computer or printer's LCD screen tells you that the cartridges are full but no ink is reaching the paper, the printhead is probably clogged. Blurry documents and discolored images are also signs that it's time to remove the excess ink.
How do I fix a printer that prints blank pages?
- Check the ink cartridges.
- Perform Windows troubleshooting for printers.
- Update the printer driver.
- Download and run HP Print and Scan Doctor.
- Configure the print spooler service.
- Restore system files.
