Okay everyone, first off, this is converted from a Paint.net tutorial for Lipstick on the Gimper forum. So, let’s get started. Here is the final result:

Step 1
Open up a square document. Mine is 640 by 640 pixels..

Step 2
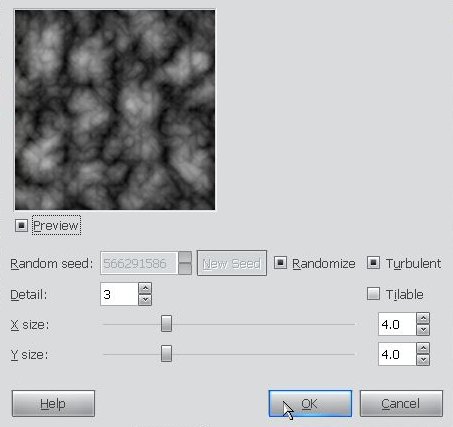
Go to Filters>Render>Clouds>Solid Noise. In here we want to check the Randomize and and Turbulent boxes. Increase the detail level to three or four. We’ll leave the size sliders alone.

Step 3
Now we’ll go through the same menus but choose a different option called Difference Clouds. Leave the settings alone.

Step 4
Apply Levels which is under the Colors menu. Grab the white slider on the right and drag it to the left until it’s around 180. Now take the middle gray slider and push that to the left to about 1.80. The point is to boost the brighter sections but not entirely remove the blacks and grays.

Step 5
Next we add a zoom blur, it’s under Filters>Blur>Motion Blur. Change the blur type to zoom, make sure the blur center is right in the middle of our image and increase the blur amount to a value near 60. (Because the zoom blur takes a long time to preview, you may want to turn off the preview option).

Here is what we have so far.
Step 6
We’re almost done so hang in there. Go to Filters>Distorts>Whirl and Pinch. Adjust the whirl angle to around 160, if you want, fool with the other sliders until satisfied

Step 7
In the layers tab click the Duplicate button.

Step 8
Make sure the second layer is selected and go to Filters>Re-show Whirl and Pinch or use the keyboard shortcut Shift+Control(Command on Mac)+F. This time, reverse the whirl and set the angle close to -400. Try changing the pinch or radius amount to get a more diverse effect.

Step 9
In the layer tab change the top layer’s blend mode to “Lighten Only” and then, right-click and flatten the image.


Step 10
The only thing left is to color according to your taste.Make it whatever color you want! But to get the colors in my image open Levels and go to the green channel and adjust it like so.

Now do the same to the blue channel

I also add some contrast but I don’t have a screen of that.
Finished

Well that’s all there is for this tutorial. Remember the figures and settings I mentioned are only suggestions. Experiment with the technique, add other effects, and above all have fun!
