Updated November 2024: Stop getting error messages and slow down your system with our optimization tool. Get it now at this link

The Remote Play feature can stop working for many reasons, but the most important ones are using an outdated version of the Steam client and a beta version of the Steam client. Also, incorrect network settings such as IP settings, including IPv6, may prevent this feature from working.
A slow internet connection can also be the reason why Steam In-Home Streaming cannot connect to the remote computer. This remote play problem can also occur if you have multiple network connections.
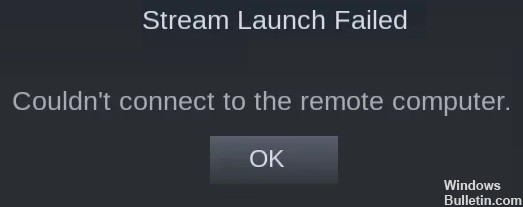
If Steam Remote Play Together cannot connect, you will get an error message “Failed to connect to the remote computer“. Sometimes the game runs for the host, but not for guests. In some cases, the host gets a black screen.
What causes Steam Remote Play to fail?

- You are using a beta version.
- The Steam client is out of date.
- Your network connection is slow or down.
- You are using an older version of Windows.
- Your antivirus software is blocking remote Steam play.
How to repair the situation when Steam Remote Play doesn’t work?
You can now prevent PC problems by using this tool, such as protecting you against file loss and malware. Additionally, it is a great way to optimize your computer for maximum performance. The program fixes common errors that might occur on Windows systems with ease - no need for hours of troubleshooting when you have the perfect solution at your fingertips:November 2024 Update:

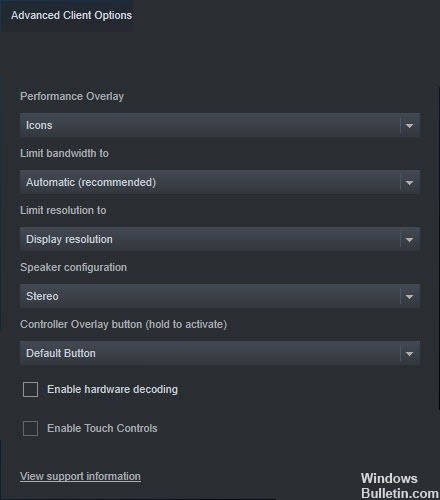
Turn off the Hardware decoding
- Open the Steam client. Click on Steam and select Settings.
- Select Remote Play on the left side of the window.
- Then click on ADDITIONAL CLIENT OPTIONS.
- Uncheck the Enable hardware decoding option and click OK.
- Now try connecting the device again and see if the problem persists.
Disable IPv6
- Right-click the Network or Wi-Fi icon in the bottom right corner of the screen.
- Then select Open Network and Internet Settings.
- Under Change network settings, click Change map settings.
- Right-click on the active network adapter, whether Ethernet or Wi-Fi.
- Then select Properties.
- Scroll down the Properties window until you see Internet Protocol version 6 (TCP/IPv6).
- Uncheck Internet Protocol version 6 (TCP/IPv6) and click OK to save your changes.
- Now reboot your computer for the settings to take effect.
Using a static IP address
- Press the Windows logo key on your keyboard while pressing the R key to open the Run window.
- Type ncpa.CPL and press the Enter key.
- Right-click on the active network adapter, whether Ethernet or Wi-Fi.
- Then select Properties.
- In the Adapter Properties window, select Internet Protocol version 4 (TCP/IPv4) and click Properties.
- Select the Use the following IP address option.
- Then enter the IP address, subnet mask, and default gateway that matches your network configuration.
Expert Tip: This repair tool scans the repositories and replaces corrupt or missing files if none of these methods have worked. It works well in most cases where the problem is due to system corruption. This tool will also optimize your system to maximize performance. It can be downloaded by Clicking Here
Frequently Asked Questions
Why doesn't my Steam Remote Play work?
Steam Remote Play may not work because the Steam client is out of date or you are using a beta version. Also, various network settings such as IP, IPV6, or multiple network connections can cause problems with Steam Remote Play. This problem occurs especially after upgrading your operating system or the Steam client.
How do I get Remote Play to work on Steam?
- Connect to Steam. on your gaming computer.
- Connect to Steam. on another computer or laptop.
- Remote Play. by streaming the game from your Steam library.
Why won't my Remote Play connect?
Make sure that you are logged into the Xbox app with the same account that you used to enable remote play on your console. Turn on the Xbox console you want to connect to and check for updates, then try again. Make sure Remote Play is enabled on your console.
