Updated February 2025: Stop getting error messages and slow down your system with our optimization tool. Get it now at this link

RAM is a non-volatile storage device that is typically used to store working data and machine code. When you shut down your computer, all data on it is lost because it is a temporary storage device. The more RAM your computer has, the more smoothly it can multitask.
However, when using Windows 10, you may run into a problem. In the “System Properties” or “Task Manager” interface, you may notice that Windows is only using a fraction of the total RAM.
What is the reason why Windows 10 doesn’t use all of the RAM?

In some cases, some of the RAM is reserved for the system, sometimes some of the memory is also reserved by the video card if you have an integrated video card. But if you have a dedicated video card, this shouldn’t be a problem. Of course, 2% of the RAM is always free.
For example, if you have 4 GB of RAM installed, the usable memory is between 3.6 and 3.8 GB, which is quite normal. The case described above applies to users who have 8 GB of RAM installed, but only 4 or 6 GB are available in Task Manager or in System Properties. Also, in some cases, the BIOS may reserve a certain amount of RAM, making it unusable for Windows.
How to resolve the situation when Windows 10 doesn’t use all the RAM?
You can now prevent PC problems by using this tool, such as protecting you against file loss and malware. Additionally, it is a great way to optimize your computer for maximum performance. The program fixes common errors that might occur on Windows systems with ease - no need for hours of troubleshooting when you have the perfect solution at your fingertips:February 2025 Update:

Use MSConfig
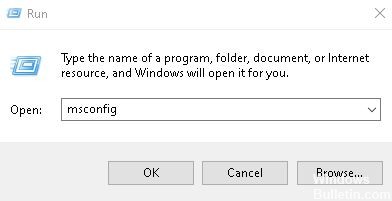
- Press the Windows + R key and type MSConfig. Press Enter or press OK.
- The System Configuration window will appear. Click the Boot tab and then click Advanced Options.
- Check the Maximum Memory option and enter the amount in MB you have available. 1 GB is 1024 MB, and since our computer has 4 GB of RAM, that’s 4096 MB.
- Make sure you enter the correct amount of RAM in MB for your PC.
- When you are finished, click OK.
- Save your changes and restart your computer.
Make sure the RAM is inserted correctly
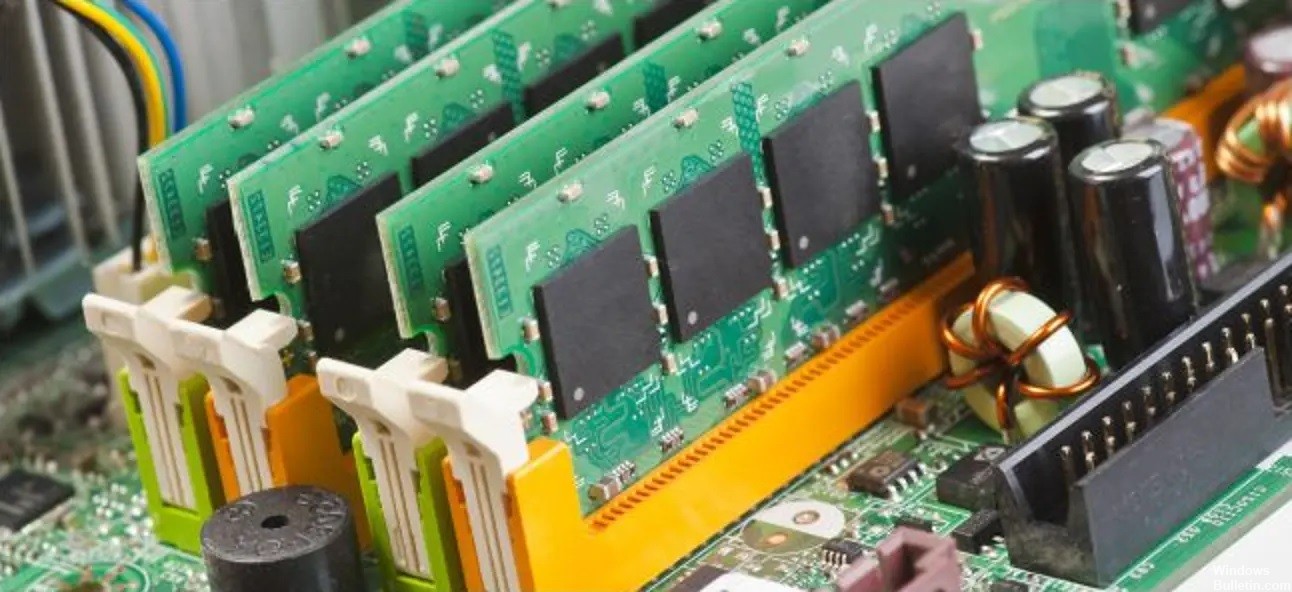
If Windows 10 isn’t using all of the RAM, it could be because the RAM module isn’t inserted correctly. If you recently installed new RAM, you may not have locked it properly, which is causing this problem.
- To solve this problem, you need to unplug your computer, unplug it and open it.
- Now locate the RAM and check if it is locked in place.
- If the RAM module is loose, gently push on it so that it locks into place.
You can also check if the latches are holding the RAM in place correctly, if necessary. Remember that you need to be very careful when handling the equipment so that you do not damage your computer.
If you do not know how to check your RAM, it is better to contact a professional.
Reorganize your RAM modules
If Windows 10 is not using all the RAM, it may be because the RAM modules are not installed in the right order.
Many motherboards are quite specific about the order of the RAM modules. Therefore, you may need to remove and rearrange the RAM to solve this problem.
We also recommend that you consult your motherboard manual for information on how to correctly place the RAM modules.
If you are using two modules, make sure they are installed in the correct sockets. Your sockets have different colors. Therefore, if you are using two modules, make sure that you put them in the same color sockets.
Some users report that swapping the RAM solved the problem, so give it a try.
Check if your RAM is compatible with your motherboard
Sometimes Windows 10 doesn’t use all of your RAM because it doesn’t match your motherboard. In this case, the computer won’t recognize it and you won’t be able to use it.
To solve this problem, you need to check your motherboard manual to see if the current memory modules are supported.
Some RAM models are not fully compatible with some motherboards. To solve this problem, you must replace the RAM with a compatible model.
Check if the BIOS recognizes your RAM
If Windows 10 is not using all the RAM, it may be because you have exceeded the RAM limit.
All motherboards have a certain limit on the amount of RAM they can support. If you have an older motherboard, you may have exceeded the maximum amount of RAM the motherboard can use.
To find out how much RAM your motherboard can support, you should consult your motherboard’s manual.
In addition, we recommend that you check your system BIOS information. If the BIOS indicates the correct amount of RAM, it means that your motherboard can recognize and support it.
This means that the problem is caused by Windows and not your hardware.
Expert Tip: This repair tool scans the repositories and replaces corrupt or missing files if none of these methods have worked. It works well in most cases where the problem is due to system corruption. This tool will also optimize your system to maximize performance. It can be downloaded by Clicking Here
Frequently Asked Questions
How do I fix all the unused GB of RAM in Windows 10?
- Use the 64-bit version of Windows.
- Disable automatic RAM virtualization.
- Check if the RAM is properly inserted.
- Check if the RAM is faulty.
- Reorganize the RAM modules.
- Change the BIOS settings.
- Use Msconfig.
- Change your registry.
Why is my RAM not being fully utilized?
The problem may be caused by an outdated BIOS system. If your computer is older, the system may not have access to all of the installed RAM. In this case, you need to update your system BIOS to the latest version.
How to make Windows 10 use more RAM?
- Monitor memory and clean up processes.
- Disable unnecessary programs at the startup.
- Stop background applications from running.
- Remove the file from the page at shutdown.
- Reduce visual effects.
Is my computer using all of its memory?
Right-click on the taskbar and select "Task Manager" or press Ctrl+Shift+Esc to open it. Click on the "Performance" tab and select "Memory" in the left pane. If you don't see any tabs, click "Details" first. This shows the total amount of installed RAM.
