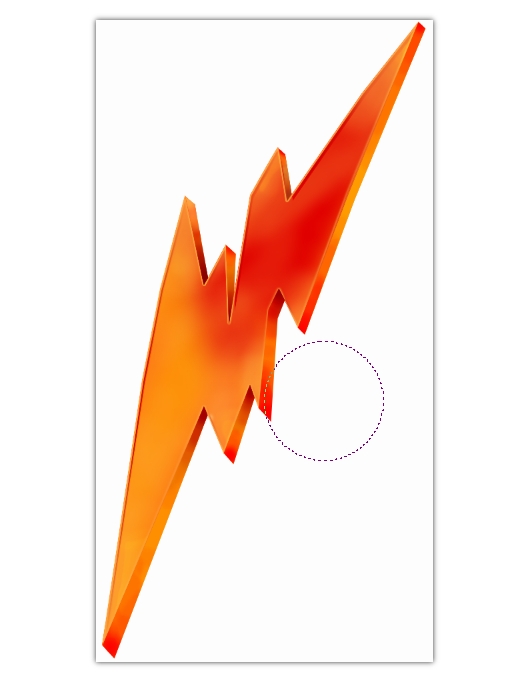
Today we are going to create a glossy bolt in the Gimp. This tutorial is inspired off of a Photoshop tutorial by Constantin Potorac at Tutorial9.net. Let’s get started!
Step 1
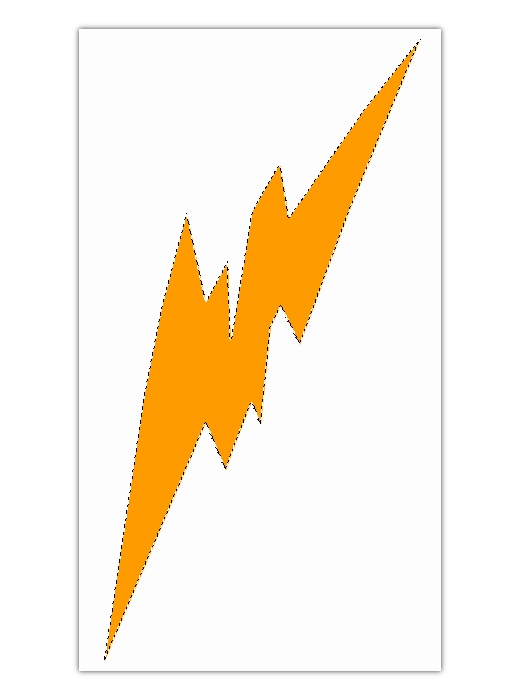
Open up the Gimp and create a new white document that is 600×1000 (portrait) pixels in size. Create a new layer and name it “lightening_base.” Using the Paths Tool, create a lightening bolt shape like below. Just click for the separate points. Close the path by holding the CTRL key and clicking on the last point that will connect to the end. In the Tool Options box, hit the Selection from Path button. Your path will turn into a selection. Using the Bucket Fill Tool, fill the selection with #FF9C00.

Step 2
Now let’s create the 3D part of the bolt. Duplcate the lightening_base layer twice. Fill these layers with #FFC66C. Move the layers below the lightening_base layer. Select the first duplicate with the Move Tool, and then hit the down arrow key 5 times, then the right arrow key 5 times. Select the second arrow key and then hit the down arrow key 10 times, and the right arrow key 10 times.

Step 3
Next, merge the two layers we created from duplicating. Name the layer “bolt_3d.” Using the Paths Tool, make a selection like I have below and fill with #FFC66C. (Make the selections like we did in step 1). Do this with the rest of the jagged corners.

Step 4
Now we’ll add shadows. Get out the Burn Tool. Choose a soft brush and set the Exposure to 60%. in the tool options. Make the brush larger if needed. Select the bolt_3D layer and burn the corners like below.

Step 5
Again with the Burn Tool, burn the corners of the lightening_base layer. You will also want to burn some of the edges of the bolt as well.

Step 6
Right click the lightening_base layer and click the Alpha to Selection option. This will create a selection around the base of our bolt. Create a new layer named “bolt_stroke.” Change the foreground color to #FFAB45. Fill the selection with the Bucket Fill tool. Go to Select > Shrink. Shrink the selection by 2 pixels. Hit the ok button and then hit the delete button (on your keyboard!). Use the Blur Tool to smooth out the stroke.

Step 7
Right click on the “lightening_base” layer and select Alpha to Selection. Create a new layer on top of all the others and name it “bolt_corner_highlight.” Using a soft brush, highlight the corners of the bolt with the same color used for the stroke (#FFAB45). Play with opacities and brush sizes.

Step 8
Now let’s add in some more intense shadows. Select the bolt_3D layer. Right click this layer and select Alpha to Selection. Set the foreground to #800300. Select the Brush tool and using a soft brush, “burn” in some more intense shadows within the inner corners.

Step 9
Duplicate the bolt_stroke layer and go to Color > Brightness/Contrast. Lower the brightness completely and raise the contrast all the way. Using the Move tool, move the layer down and to the right by only a FEW pixels. Go to Colors > Colorize. Use the settings shown below and hit ok.

Get out the eraser tool and using a soft brush, erase the corners of the darker stroke we just created to where they blend in with the corner of bolt.

Step 10
Let’s add some more light colors on the top of the bolt. Create a new layer on top of all the others and make a selection like below by right clicking on the bolt_3d layer and selecting Alpha to Selection. Use a soft brush with #FFA93C as the color.

Step 11
Create a new layer and make a selection like below with the Lasso Tool. Change the foreground color to #FFBF6C and with a soft brush, paint in the areas. Set the layer mode to Overlay.

Step 12
Next we need to improve the shape of the bolt_3D layer. What we’ll do is we will make some selections like below and draw over the layer with some more colors and shadows. So first, create a new layer and then do like I just described. In other words, after you have made your selection, you will have to completely recolor and shade the selection like it previously was. Now before you freak out, let me tell ya we aren’t doing this to every corner. Just do maybe two or three of them. 🙂

Here’s how mine turned out:

Step 13
Right click on the lightening_base layer and select Alpha to Selection. Create a new layer between the bolt_stroke layer and the lightening_base layers. Using a soft brush, draw with #E20001 on the top of the selection and draw with #FFA739 on the bottom of the selection.

Step 14
Using a soft brush, erase the corners of the stroke on the bolt_stroke layer.

Step 15
Now we’ll add some gloss to the bolt. Create a new layer on top of all the others named “gloss1.” Make different selections like below and then using a yellow color and a soft brush, draw some faded shades of light and then set the layer mode to Overlay or Soft Light.

Step 16
Let’s add in some final strokes and we will be done. Create a new layer. Using the Paths Tool, draw in some lines near the edges of the bolt. With a yellow color for the foreground color and a small, soft brush selected for the paint brush, go to Edit > Stroke Path. Select “Stroke with a Paint Tool” and select the paint brush. Also be sure to check the Emulate Brush Dynamics button. Lower the opacity of the layer.

Conclusion
Wasn’t that easy? Yeah there was a lot in it, but the end result is pretty sweet.

