Updated April 2024: Stop getting error messages and slow down your system with our optimization tool. Get it now at this link
Most users who encountered this error message were using network printers to create a copy of their files. On the other hand, the problem can also occur without printing. The problem may be due to missing or incorrect printer drivers. Don’t worry, because this problem is quite common and can be easily solved.
In this article, you will learn how to solve the “Host printer driver for the application” error.
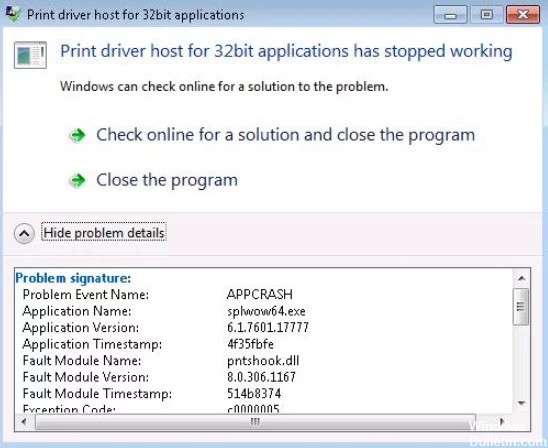
What causes the “Printer driver host for 32-bit applications no longer works” error?
The “Printer driver host” error is mainly due to the fact that Windows cannot establish a proper network connection to your printer. This is clearly the result of a problem with the drivers in Windows. It seems that Microsoft did not provide a complete list of printer drivers on the OEM installation disk, which prevented the printers from installing correctly. Errors can also be caused by problems in the registry.
How to resolve the “Printer driver host no longer works for 32-bit applications” problem?
You can now prevent PC problems by using this tool, such as protecting you against file loss and malware. Additionally, it is a great way to optimize your computer for maximum performance. The program fixes common errors that might occur on Windows systems with ease - no need for hours of troubleshooting when you have the perfect solution at your fingertips:April 2024 Update:
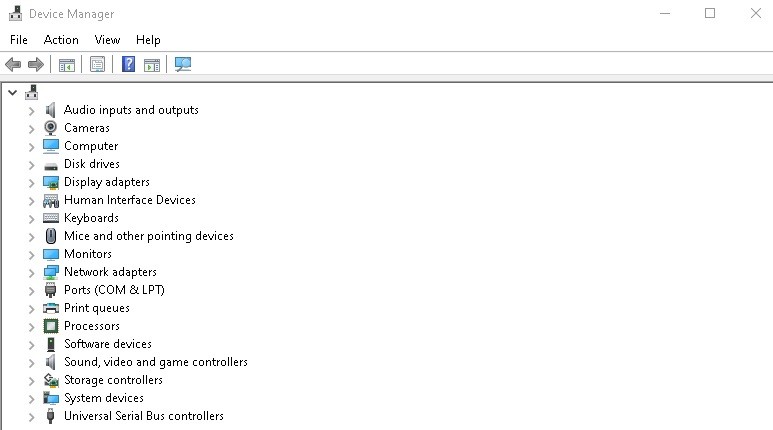
Update the printer drivers
- Find “Device Manager” in the Windows 10 search bar.
- Then click on the Device Manager icon to open it.
- Find the corresponding printer driver, right-click it, and uninstall it.
- Click “Action” on the top tab and select “Check for hardware changes”.
Reinstall the printer
- Press Win + R to open the “Run” window.
- Type “Control Panel” and press Enter to open the Control Panel window.
- Go to Devices and Printers.
- Right-click on the printer and select Remove Device.
- Reboot the system.
- Go to Devices and Printers as described above.
- Click Add Printer and add the printer.
Expert Tip: This repair tool scans the repositories and replaces corrupt or missing files if none of these methods have worked. It works well in most cases where the problem is due to system corruption. This tool will also optimize your system to maximize performance. It can be downloaded by Clicking Here
Frequently Asked Questions
How do I reinstall the printer driver?
- Press the Windows key, find Device Manager and open it.
- Select the connected printer from the list of available devices.
- Right-click on the device and select Update Driver or Update Driver Software.
- Click Automatically check for driver software updates.
How can I fix the fact that the printer driver no longer works on the host?
- Open the Control Panel and click on Devices and Printers (you should see small icons to look for devices and printers).
- Under Printers, right-click on your printer and select Remove Device.
- Confirm the removal of the printer.
- Restart your computer.
What does "Printer driver host for 32-bit applications no longer works" mean?
This error occurs when the computer cannot start the driver to connect to the printer and transfer operations to it. This error usually occurs in older versions of Windows and is mostly due to the fact that 32-bit drivers are no longer supported.
