Updated April 2024: Stop getting error messages and slow down your system with our optimization tool. Get it now at this link
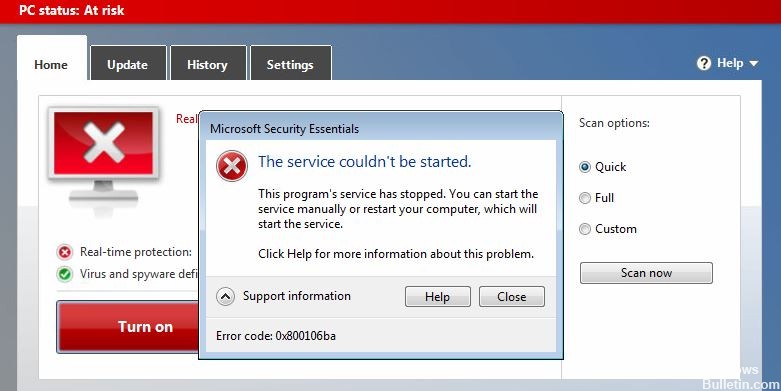
Windows Defender is free anti-virus software from Microsoft. It is known for its reliability, efficiency and stability, but sometimes Windows Defender or Microsoft Security Essentials stops working and displays this error code Microsoft Defender 0x800106ba with a brief description – The Windows Defender application failed to initialize.
What causes Windows Defender error 0x800106ba?
- System infected with malware
- Outdated Windows Defender firewall
- Damaged, corrupted, or missing Windows Defender update files
- Incorrect registration of important Windows Defender files in the system.
- Conflict with third-party antivirus programs.
How to fix Windows Defender error 0x800106ba?
You can now prevent PC problems by using this tool, such as protecting you against file loss and malware. Additionally, it is a great way to optimize your computer for maximum performance. The program fixes common errors that might occur on Windows systems with ease - no need for hours of troubleshooting when you have the perfect solution at your fingertips:April 2024 Update:
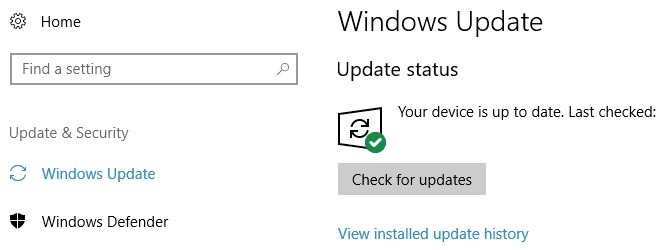
Apply the latest Windows updates
- Open the Settings app by pressing the Windows + I keys.
- Select Update and security and click Check for updates.
- Let the system check for available updates and install them all.
- Finally, reboot your system.
Configure the Windows Defender antivirus service to start automatically
- Type services in Windows search and select Services from the list.
- Find Windows Defender and double-click on it.
- Select the startup type and set it to Automatic.
- Click Apply and OK to save your changes.
Re-register the corresponding DLL files
- Type Command Prompt or cmd in the Windows search box.
- Right-click on the command prompt result and select Run as administrator.
- Type the commands and press Enter after each command:
- regsvr32 wuaueng.dll
- regsvr32 wucltui.dll
- regsvr32 softpub.dll
- regsvr32 wintrust.dll
- regsvr32 initpki.dll
- regsvr32 wups.dll
- regsvr32 wuweb.dll
- regsvr32 atl.dll
- regsvr32 mssip32.dll
Expert Tip: This repair tool scans the repositories and replaces corrupt or missing files if none of these methods have worked. It works well in most cases where the problem is due to system corruption. This tool will also optimize your system to maximize performance. It can be downloaded by Clicking Here
Frequently Asked Questions
How do I fix error code 0x800106ba?
- Open the application settings by pressing Windows + I.
- Select Update and security and click Check for updates.
- Let the system check for available updates and install them all.
- Now reboot your system.
How do I reinstall Windows Defender?
- Press Windows + X, select Control Panel.
- In the upper right corner, click on "View", then select "Large Items".
- Now click on Windows Defender in the list and try to activate it.
How do I fix a corrupted Windows Defender?
- Enable real-time protection.
- Use professional protection software.
- Change the proxy server.
- Disable third-party antivirus programs.
- Run an SFC scan.
- Run DISM.
- Reset the Security Center service.
How do I fix a Windows Defender error?
- Click on the "Start" menu and type "Windows Security".
- Open the application and click on "virus protection and security".
- Check for updates and install the latest version.
- Restart Windows Defender and it should work correctly again.
